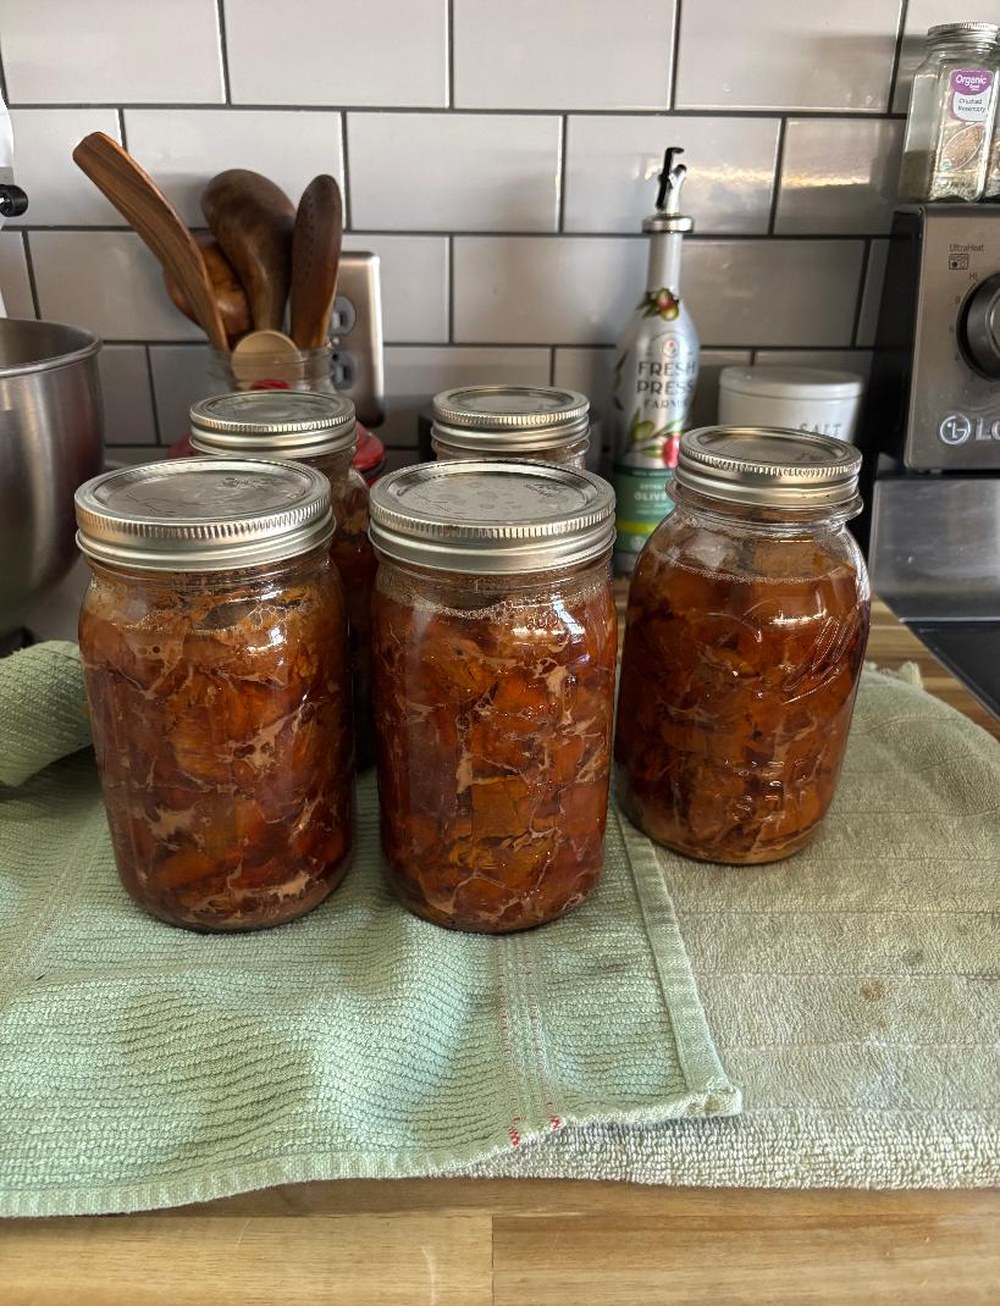
Let me tell you about the easiest dessert in my kitchen, and then let me tell you about the one thing about it that's driving me up a wall.
The easy part first. Homemade ice cream, with no ice cream maker, no churning, no custard, and no standing at the stove whisking and praying. The base is two ingredients: heavy whipping cream and one can of sweetened condensed milk. That's the whole base.
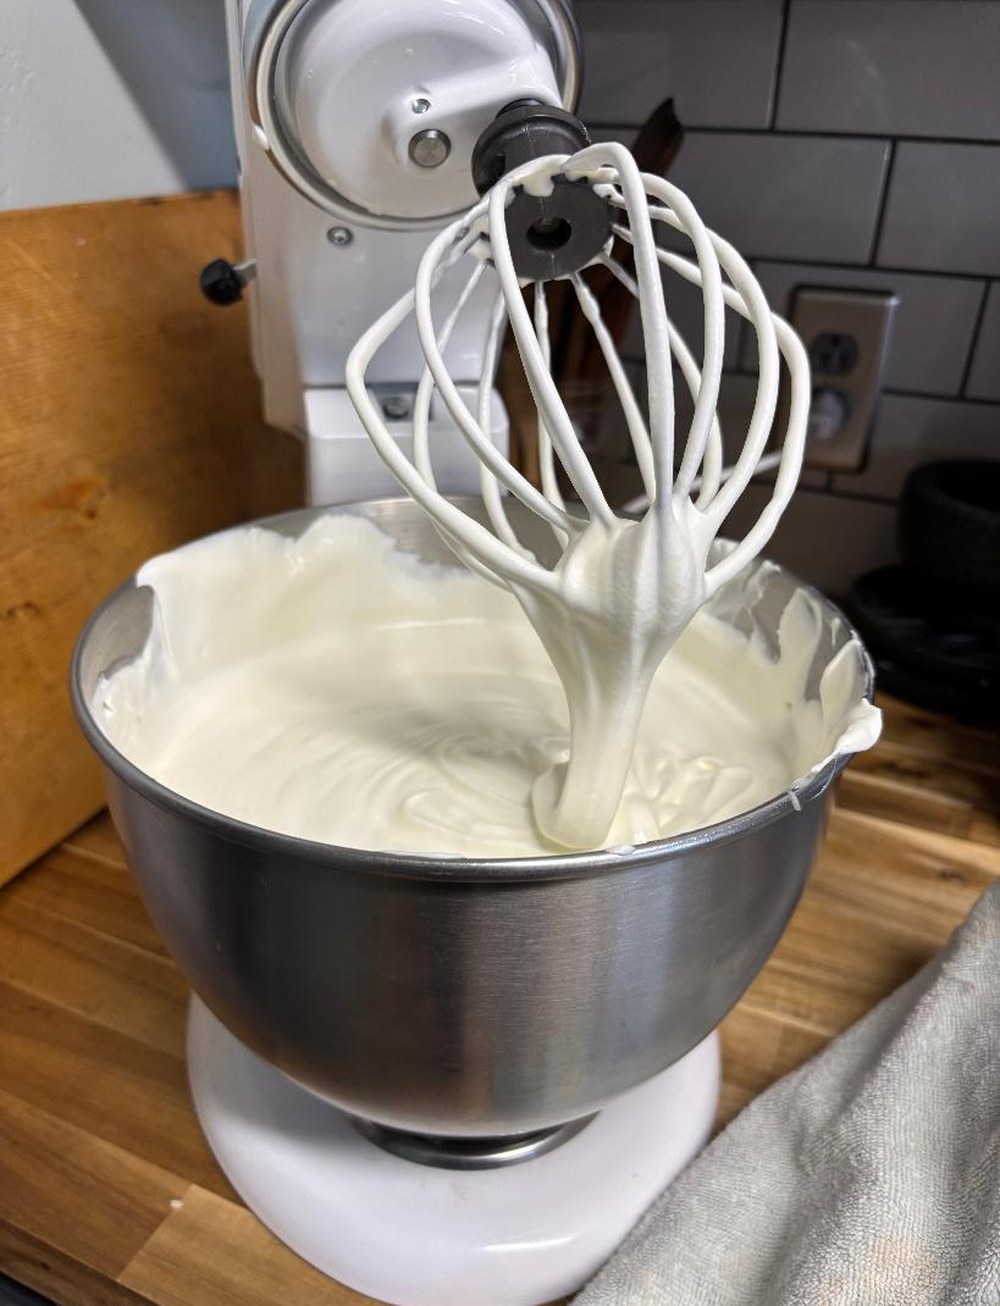
You whip the cream in the stand mixer until it reaches whipped cream consistency, the kind that sits up on the whisk like it's proud of itself. Then you add the sweetened condensed milk and mix until combined. After that, the sky is the limit.
My latest batch got toffee pieces, a splash of my homemade vanilla, and a swirl of caramel sauce. Plop it in the freezer for a day, and voila: ice cream. Real, scoopable, homemade ice cream from two ingredients and a mixer. It has become a regular around here, and every batch is a blank canvas that happens to live in the freezer.
Two-Ingredient Ice Cream
What you need:
- 2 cups (1 pint) cold heavy whipping cream
- 1 can (14 oz) sweetened condensed milk
- About 1 cup of add-ins. Mine were toffee pieces, 1 to 2 teaspoons of homemade vanilla, and a drizzle of caramel sauce.
How to make it:
- Start with cold cream. A chilled bowl helps.
- Whip the cream until it reaches whipped cream consistency and holds its shape.
- Add the sweetened condensed milk and mix until combined.
- Fold in your add-ins and swirl in the caramel.
- Transfer to a freezer-safe container and press a cover directly against the surface of the ice cream (more on that below).
- Freeze for a full day, then scoop.
A few combinations to try: crushed cookies, chopped chocolate, a swirl of peanut butter, or a spoonful of instant coffee dissolved in a little hot water and cooled.
Now, the problem.
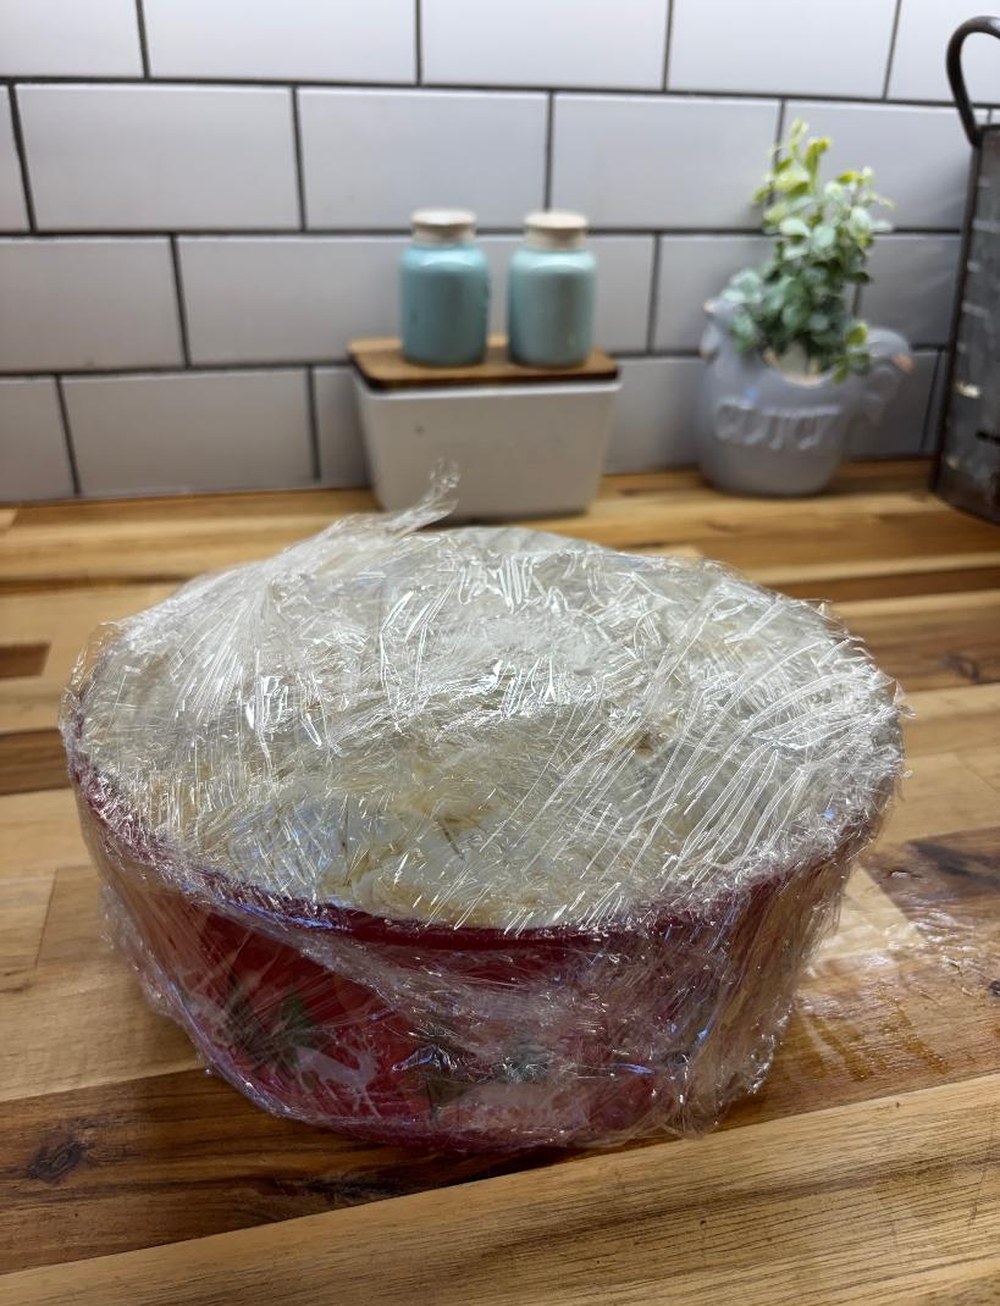
I'm trying to go plastic free in my kitchen, and I'm making real progress, except here. Homemade ice cream needs a cover that touches the surface of the ice cream, pressed right down against it. If it doesn't, ice crystals form and the creamy texture goes. A lid on the container isn't enough, because it's the air sitting on top that does the damage. The usual fix is plastic wrap pressed onto the surface, and you can see exactly what I did in the photo. The irony is not lost on me.
So here's where I need you. If you have an idea for a plastic-free way to keep the surface of homemade ice cream covered, email me at [email protected]. I'd love to try it together, and if your idea works, you get a shout-out right here on the blog.
In the meantime, I'll be over here with my toffee pieces.
— Granny
📸 real photos