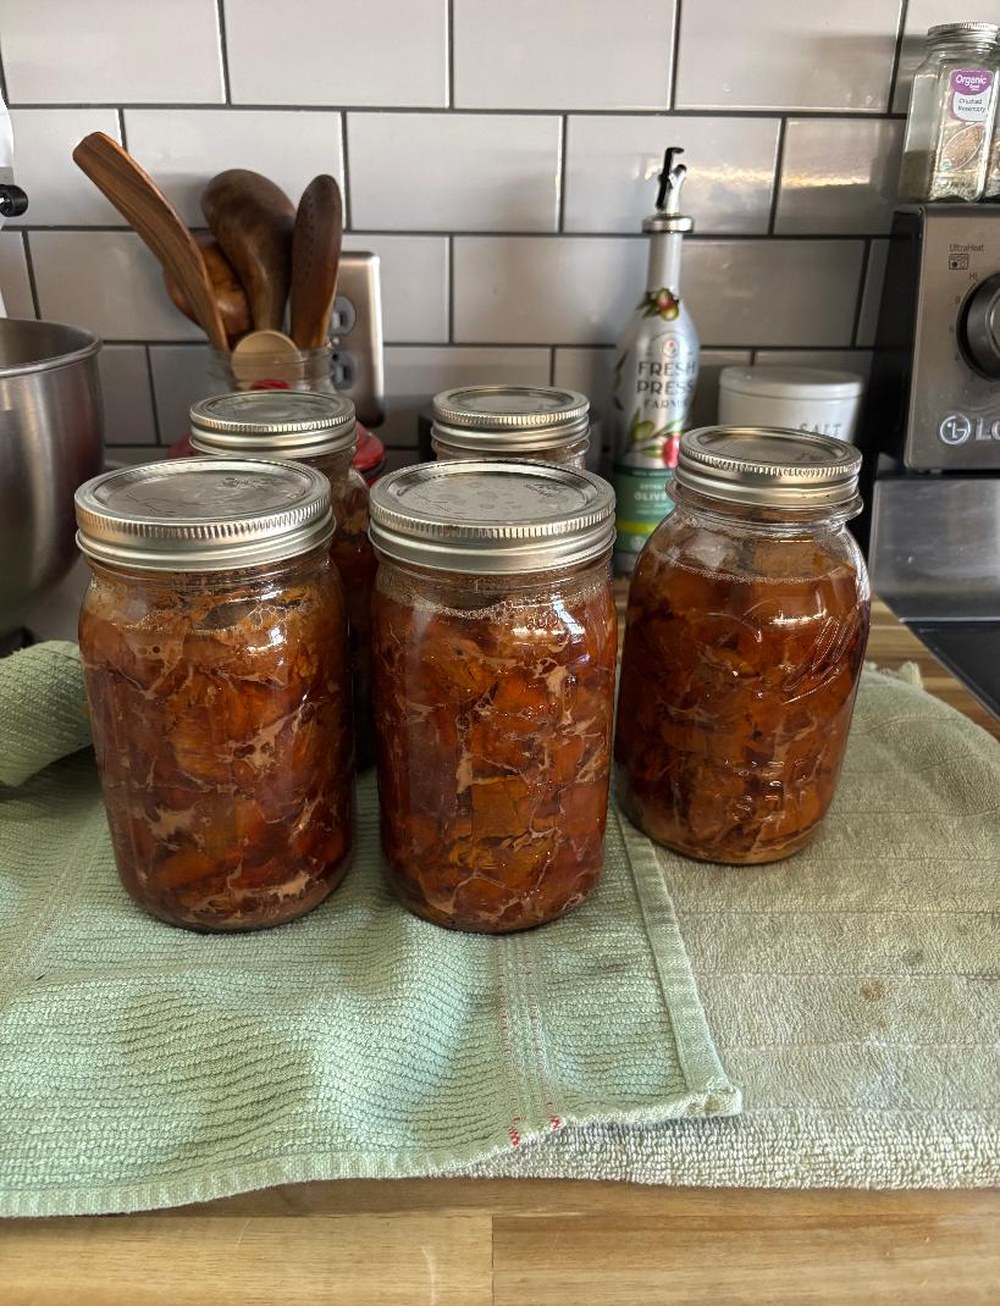
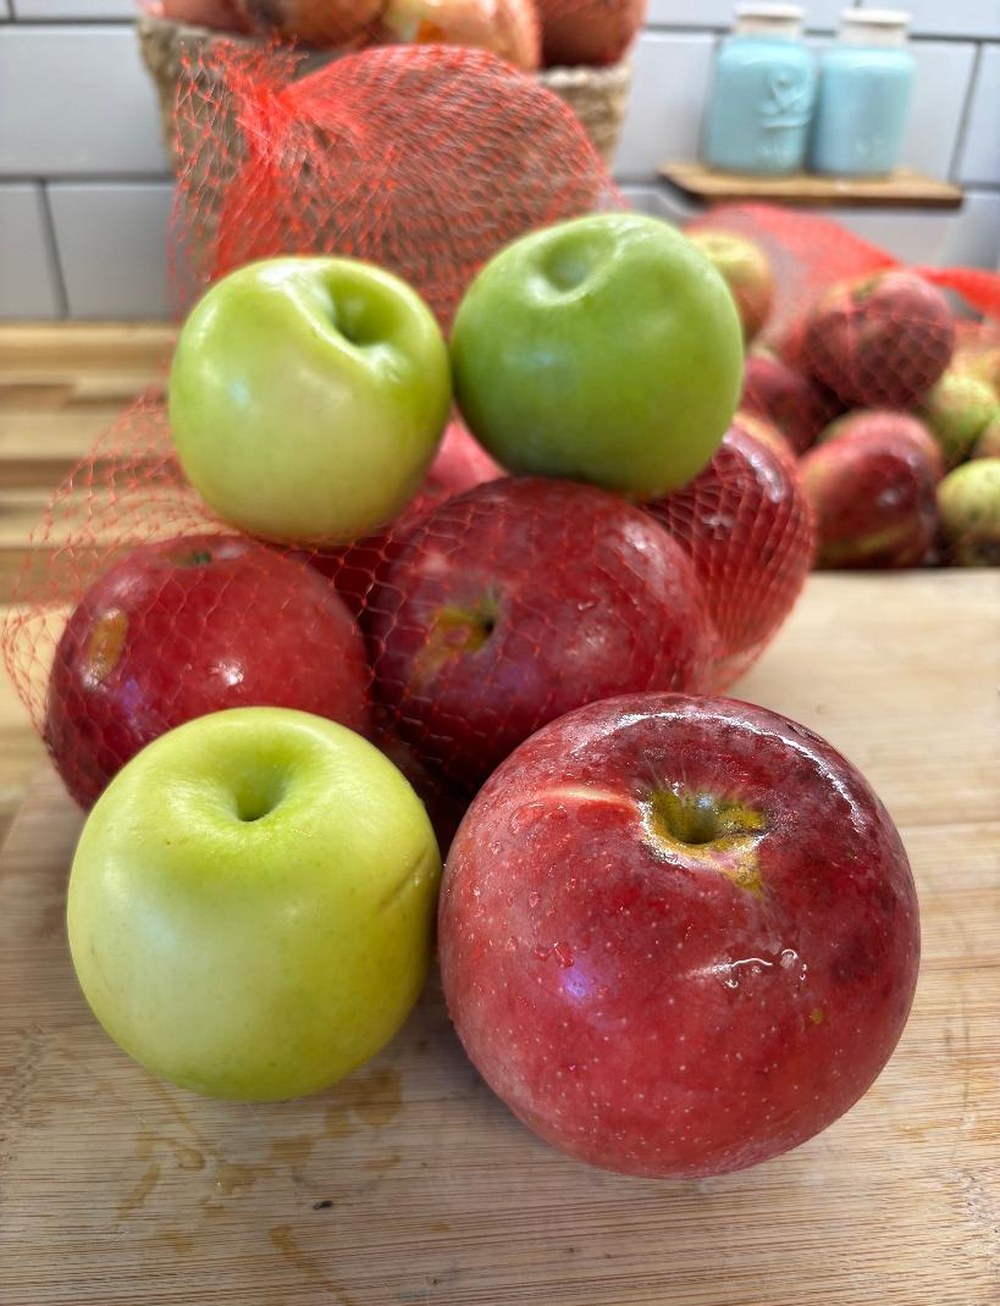
My good friend Kathi showed up with a gift of red apples, which is the best thing a friend can do for a homesteader, and I will not be taking questions. I rounded out the batch with some green apples from the grocery store, and a mix is exactly what you want. NCHFP says good apple juice comes from a blend of varieties. Thank you, Kathi.
So into the pressure cooker they went, quartered, peels and cores and all, with just a splash of water. The peels and cores are where the color and half the flavor live, which is why my cider came out that deep amber-orange. A pot of apples goes in, a pot of cider comes out, and it feels like cheating. It is not cheating. It's a good tool.
Now, the part I'm proudest of: I left it unsweetened. No sugar, no spices, nothing. Honestly, I have no idea how I'm going to feel when I crack open a jar in the middle of a January snowstorm. Will I want mulled cider? Apple cider syrup? A jelly? A coffee syrup? A mug of hot tea? Maybe a batch of ginger bug soda (my bug still needs a name)? I don't know, and that's the whole point. Plain cider is a blank canvas. Future me gets to decide. Future me gets options, and future me will be thrilled with past me, which almost never happens.
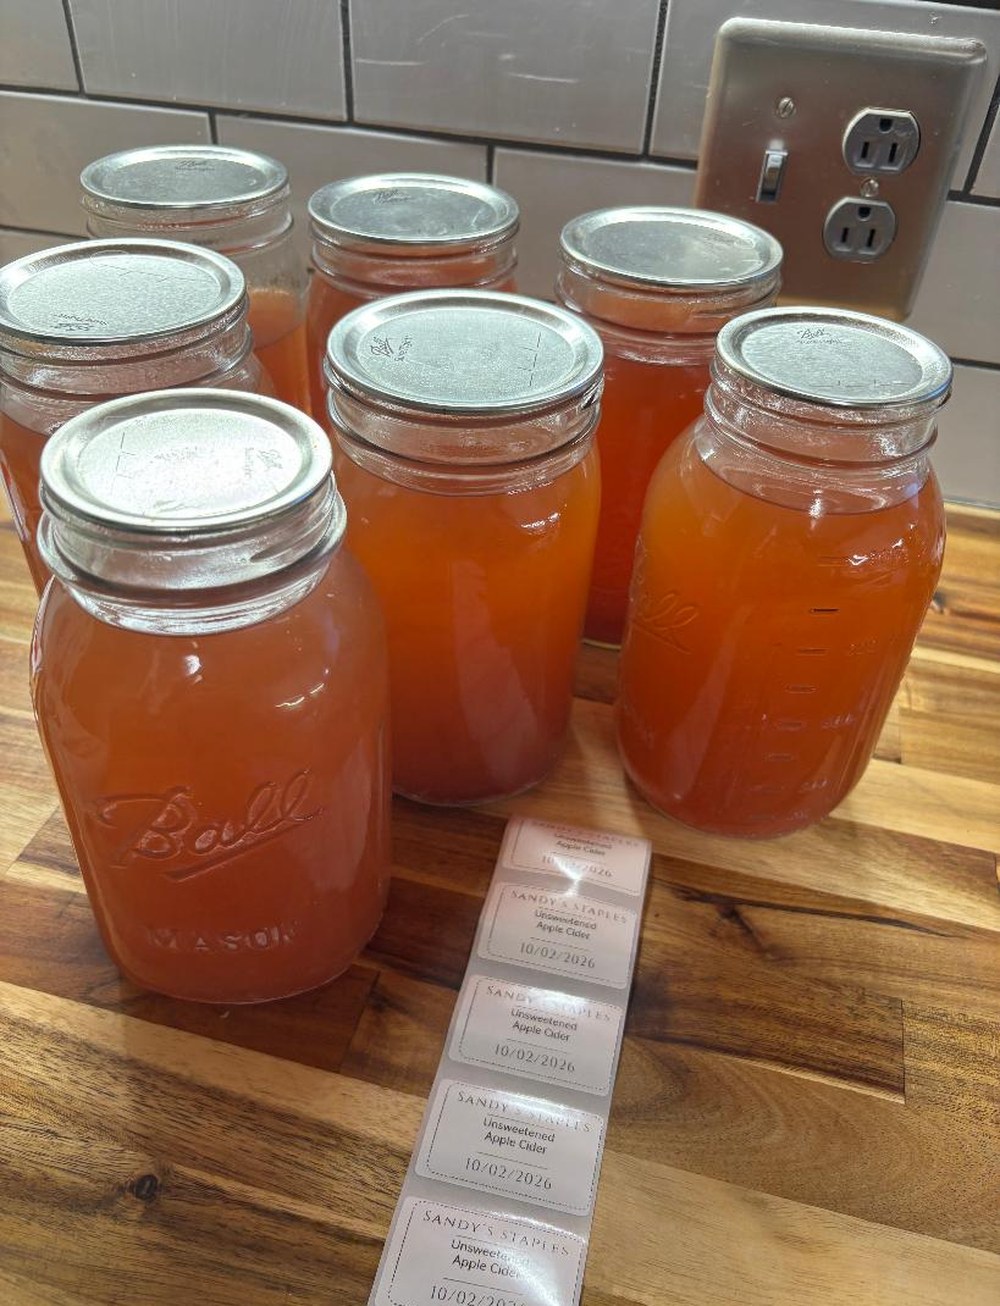
Seven quarts are lined up on the counter right now, labeled by my best employee. "Sandy's Staples, Unsweetened Apple Cider." She doesn't judge my choices. She just prints.
Unsweetened Apple Cider (Pressure Cooker Juiced, Water Bath Canned)
What you need:
- Apples, a mix of sweet and tart if you can. Mine were red and green.
- Water, about 1 cup per pressure cooker batch
- A pressure cooker, a big pot, and cheesecloth, a jelly bag, or a nut milk bag
- A boiling water canner, jars, new lids, and bands
Make the cider:
- Wash the apples, quarter them, and cut out any bad spots. No need to peel or core.
- Fill the pressure cooker no more than half full, since apples can foam. Check your manual on foaming foods. Add 1 cup of water.
- Cook at high pressure for about 10 minutes, then let the pressure release naturally.
- Mash the apples right in the pot with a potato masher.
- Strain through damp cheesecloth or a jelly bag set over a large pot. Let it drip. Skip the squeezing if you want a clearer cider. For crystal clear, NCHFP suggests refrigerating the juice 24 to 48 hours, pouring off the clear liquid, and straining it through a paper coffee filter.
Can it (this part follows NCHFP's tested process):
- Get your canner, jars, and lids ready. Jars should be hot, and sterilized if your process time is under 10 minutes.
- Heat the strained cider quickly, stirring now and then, until it begins to boil.
- Fill hot jars right away, leaving 1/4 inch headspace. Wipe the rims, add lids, and tighten bands fingertip tight.
- Process in a boiling water canner:
- Pints or quarts: 5 minutes (0 to 1,000 ft), 10 minutes (1,001 to 6,000 ft), 15 minutes (above 6,000 ft)
- Half-gallons: 10 minutes, 15 minutes, 20 minutes at those same elevations
- Turn off the heat, wait 5 minutes, then lift the jars out. Let them cool undisturbed for 12 to 24 hours, check the seals, label them, and store somewhere cool and dark. Refrigerate once opened.
I keep mine plain because it leaves the most doors open. Add the sugar, the spices, and the creativity when you serve it. For the exact times and steps, go straight to NCHFP at nchfp.uga.edu.
What would YOU do with a pantry full of plain cider? Email me your ideas at [email protected]. I'm taking suggestions.
— Granny
📸 real photos